Beginners · 12 Aug 2026 · 16 min read
How to Start a Garden From Scratch: A Complete Beginner's Guide
A patient, step-by-step walk through choosing a spot, reading your soil, picking easy plants and getting your first harvest without spending a fortune.
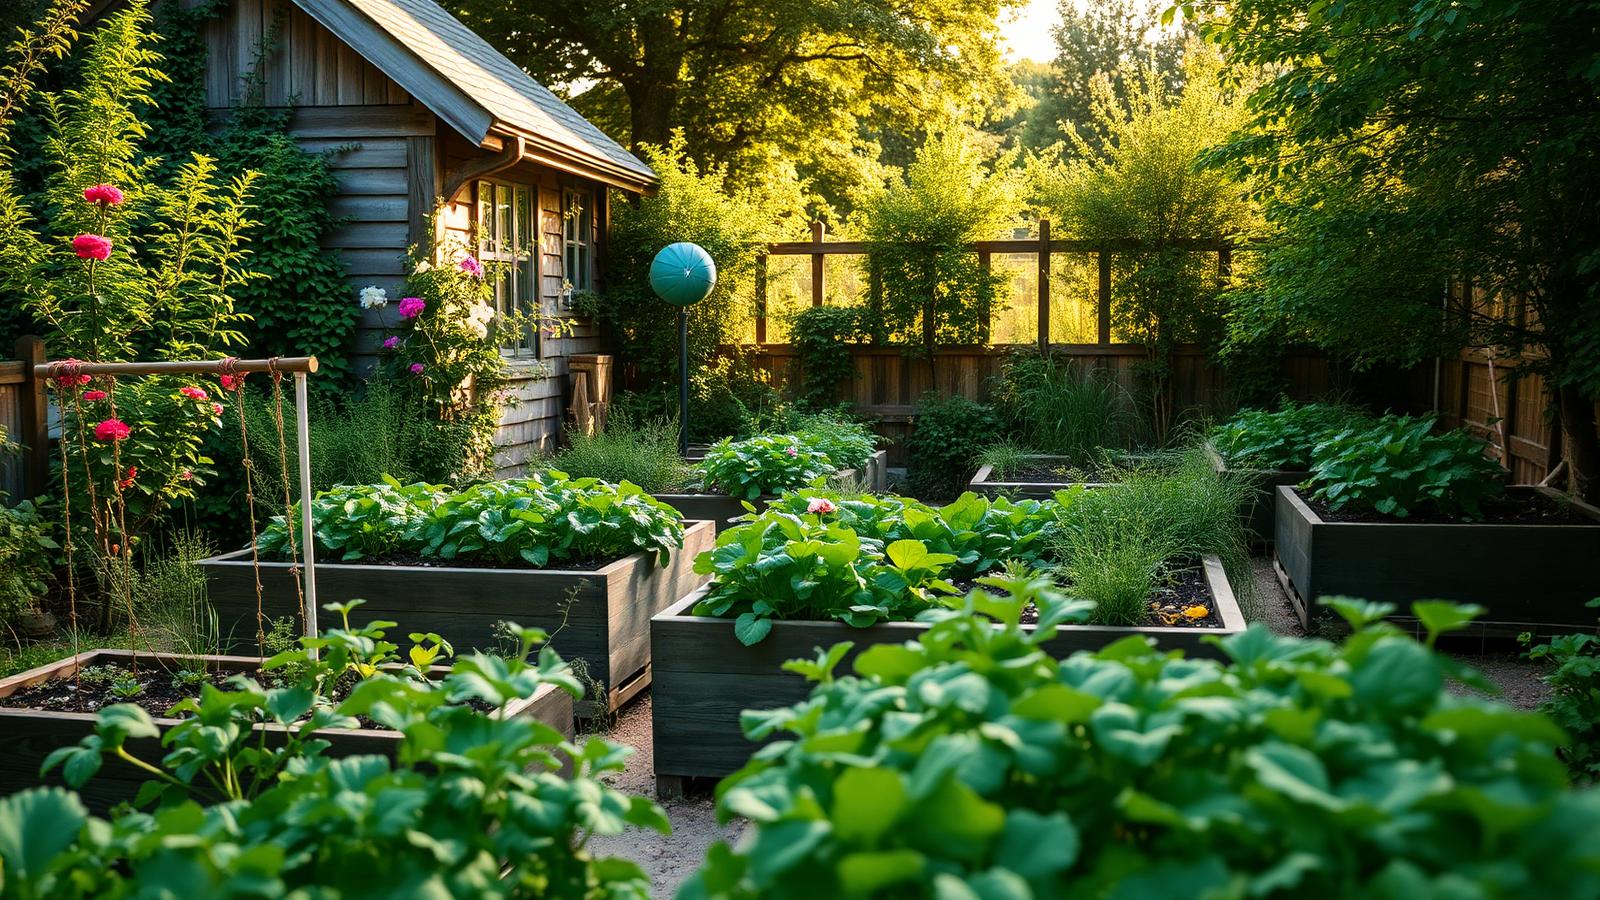
Almost every gardener remembers the same feeling: standing in front of an empty patch of ground, a rented balcony or a tired lawn, wondering where on earth to begin. The internet does not always help. One article says you must double-dig the soil, another insists you must never disturb it, and a third tries to sell you a greenhouse before you have grown a single radish. This guide takes the slow road instead. It assumes you have no experience, a modest budget and an ordinary amount of free time, and it walks through the decisions in the order you will actually meet them.
Step one: watch the light before you buy anything
Light is the one thing you cannot buy at the garden centre. Before spending money on plants, spend a weekend watching your space. Note where the sun falls at nine in the morning, at midday and at four in the afternoon. A spot that receives six or more hours of direct summer sun is considered full sun, and it will grow tomatoes, peppers, courgettes, beans and most herbs. Three to six hours is partial shade, which suits lettuce, spinach, chard, kale, currants and a long list of shade-tolerant flowers. Under three hours is genuine shade: you can still grow beautifully there, but with ferns, hostas, mint, wild garlic and woodland perennials rather than fruiting vegetables.
Write the observations down. It sounds fussy, but memory is unreliable, and in February you will not remember that the neighbour's ash tree shades the left-hand corner from two o'clock onwards. This single page of notes will save you more money than any tool you ever buy.
Step two: get to know your soil with your hands
You do not need a laboratory. Dig a hole the depth of a spade, take a handful of moist soil and squeeze it. If it forms a sticky ribbon that holds its shape, you have clay: rich in nutrients, slow to warm, prone to waterlogging. If it falls apart immediately and feels gritty, you have sand: quick to warm, quick to drain, hungry for organic matter. If it holds together softly and crumbles when poked, you have loam, and you should be quietly pleased with yourself.
Whatever the answer, the remedy is largely the same, and it is wonderfully boring: add organic matter. Compost, well-rotted manure, leaf mould, spent mushroom compost. Clay soils become more open and workable; sandy soils hold more water and nutrients. Two or three centimetres spread on the surface each year, left for the worms to pull down, will transform a difficult plot within three seasons.
Feed the soil and the soil will feed the plants. Almost every persistent garden problem is a soil problem wearing a costume.
Step three: start smaller than you think you should
The most common beginner mistake is scale. An enthusiastic first spring produces a plot the size of a tennis court; a rainy July produces a jungle of bindweed and a quiet sense of failure. A bed of three square metres, or four large containers, is enough to learn everything: sowing, watering, thinning, feeding, harvesting and dealing with the first slug. Success in a small area is far more motivating than a large area that defeats you.
- Radish — ready in four weeks, forgiving, wonderful for children.
- Lettuce and salad leaves — cut and come again, sow every three weeks.
- Bush beans — no staking, heavy crops, they improve the soil.
- Courgette — one plant will feed a household, sometimes threateningly.
- Chard — beautiful, tough, productive from spring until hard frost.
- Herbs — parsley, chives, thyme and mint pay for themselves in weeks.
Step four: buy five tools, not fifty
A spade, a fork, a hand trowel, a pair of secateurs and a watering can with a fine rose will handle ninety per cent of everything. Buy the best you can afford in that short list rather than a cheap set of twenty gadgets. Stainless steel resists rust, forged heads survive stony ground, and a wooden handle can be sanded and re-oiled for decades. Second-hand tools from house clearances are frequently better made than new ones and cost a fraction as much.
Step five: water deeply, not often
New gardeners tend to sprinkle the surface every evening. This encourages shallow roots that panic in the first heatwave. Instead, water thoroughly two or three times a week so the moisture reaches fifteen or twenty centimetres down, and check by pushing a finger into the soil rather than trusting the surface, which dries first and lies about the rest. Early morning is the best time: less evaporation, and foliage dries before nightfall, which reduces fungal disease.
Step six: expect losses, and keep notes
Some seeds will not germinate. Slugs will take a row of seedlings overnight. A late frost will blacken the beans. None of this is a verdict on you as a gardener; it is simply the ordinary arithmetic of growing living things outdoors. Keep a cheap notebook by the back door and record sowing dates, varieties, weather and what happened. Within two years that notebook will be more valuable than any book you can buy, because it describes your garden rather than somebody else's.
A realistic first-year calendar
In late winter, clear the ground and spread compost. In early spring, sow radish, salad and peas, and start tomatoes on a windowsill. In late spring, after the last frost, plant out the tender crops and sow beans directly. In summer, water, feed, harvest and sow salad again for autumn. In early autumn, plant garlic and spring bulbs, and gather leaves for leaf mould. In winter, clean the tools, read seed catalogues and enjoy the fact that the garden is resting and so are you.
That is the whole cycle. Repeat it a few times and the intimidating empty patch becomes a place you understand — not because you memorised rules, but because you paid attention for several seasons in a row.